Are you tired of spending hours at the nail salon, only to have your manicure chip or peel within a few days? If so, it's time to try a Russian manicure. This innovative technique originated in Russia and has gained popularity around the world for its long-lasting results. One of the key components of a Russian manicure is the nail drill bit. In this ultimate guide, we will explore everything you need to know about nail drill bits in Russian manicures.
Contents
- What are nail drill bits?
- Why are nail drill bits important in Russian manicures?
- Types of nail drill bits
- Choosing the right nail drill bit
- Tips for using nail drill bits
- Conclusion
1. What are nail drill bits?
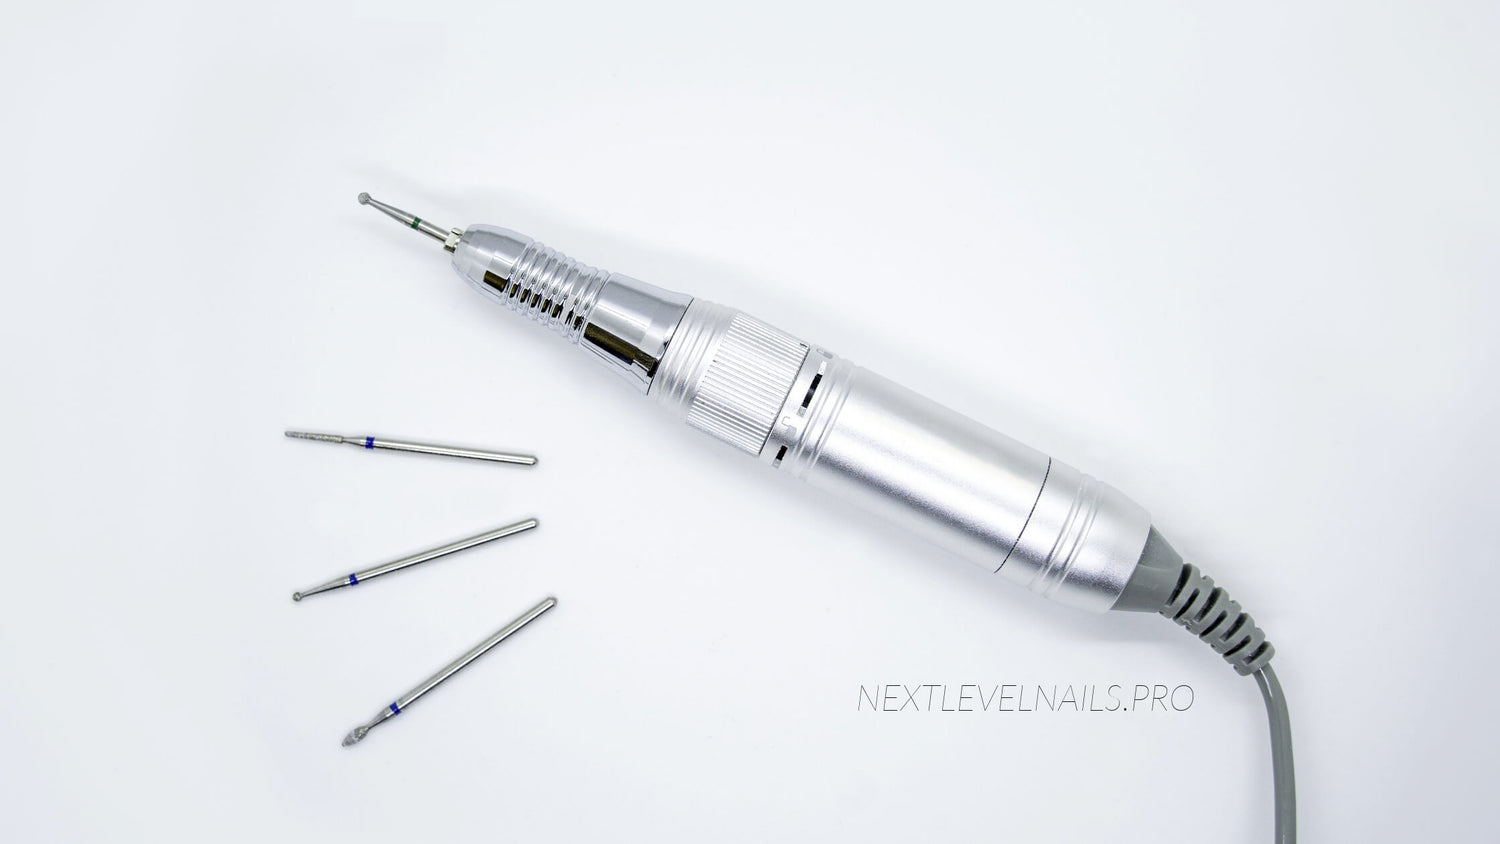
Nail drill bits are attachments that fit onto a nail drill machine. They are used to shape, clean, and refine the nails during a manicure or pedicure. Nail drill bits come in various shapes, sizes, and materials, each serving a specific purpose.
2. Why are nail drill bits important in Russian manicures?
In Russian manicures, nail drill bits play a crucial role in achieving the desired results. These bits are designed to gently remove dead cuticles, shape the nails, and create a smooth surface for nail polish application. The precision and control offered by nail drill bits ensure a flawless finish that lasts longer compared to traditional manicures.
3. Types of nail drill bits
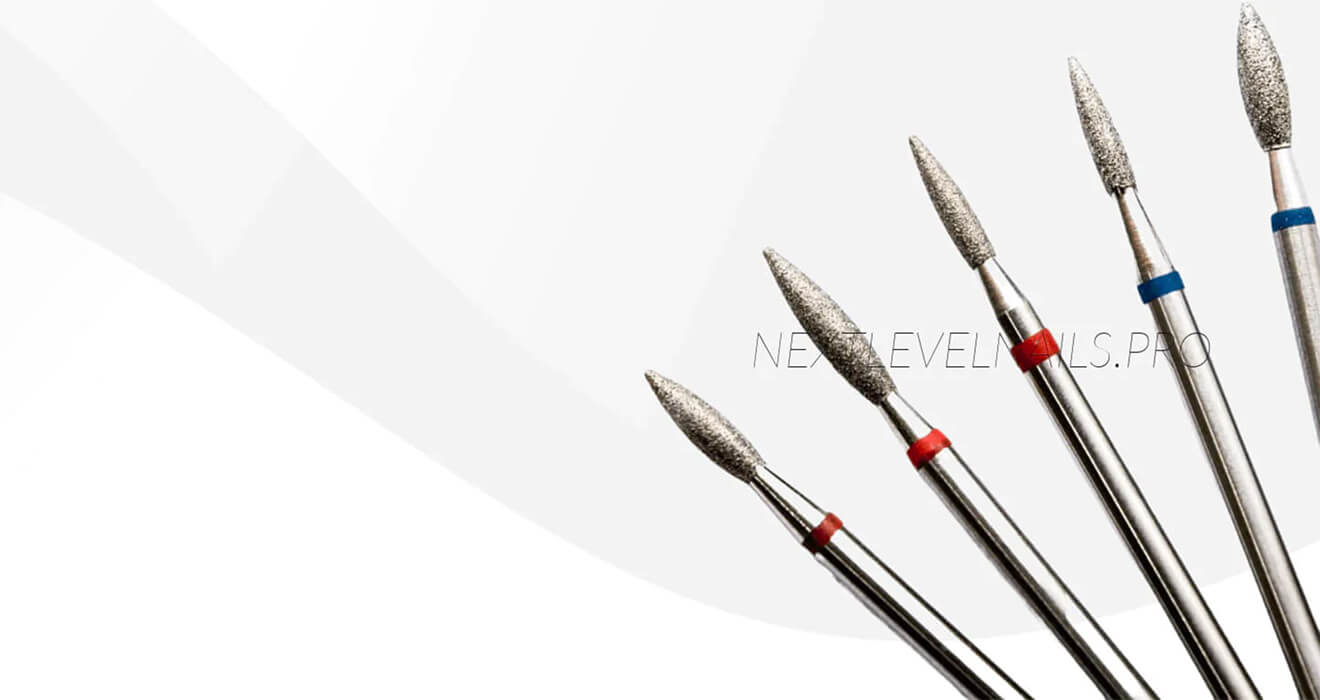
There are several types of nail drill bits commonly used in Russian manicures:
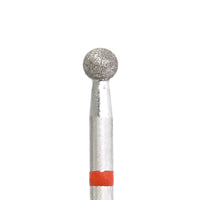
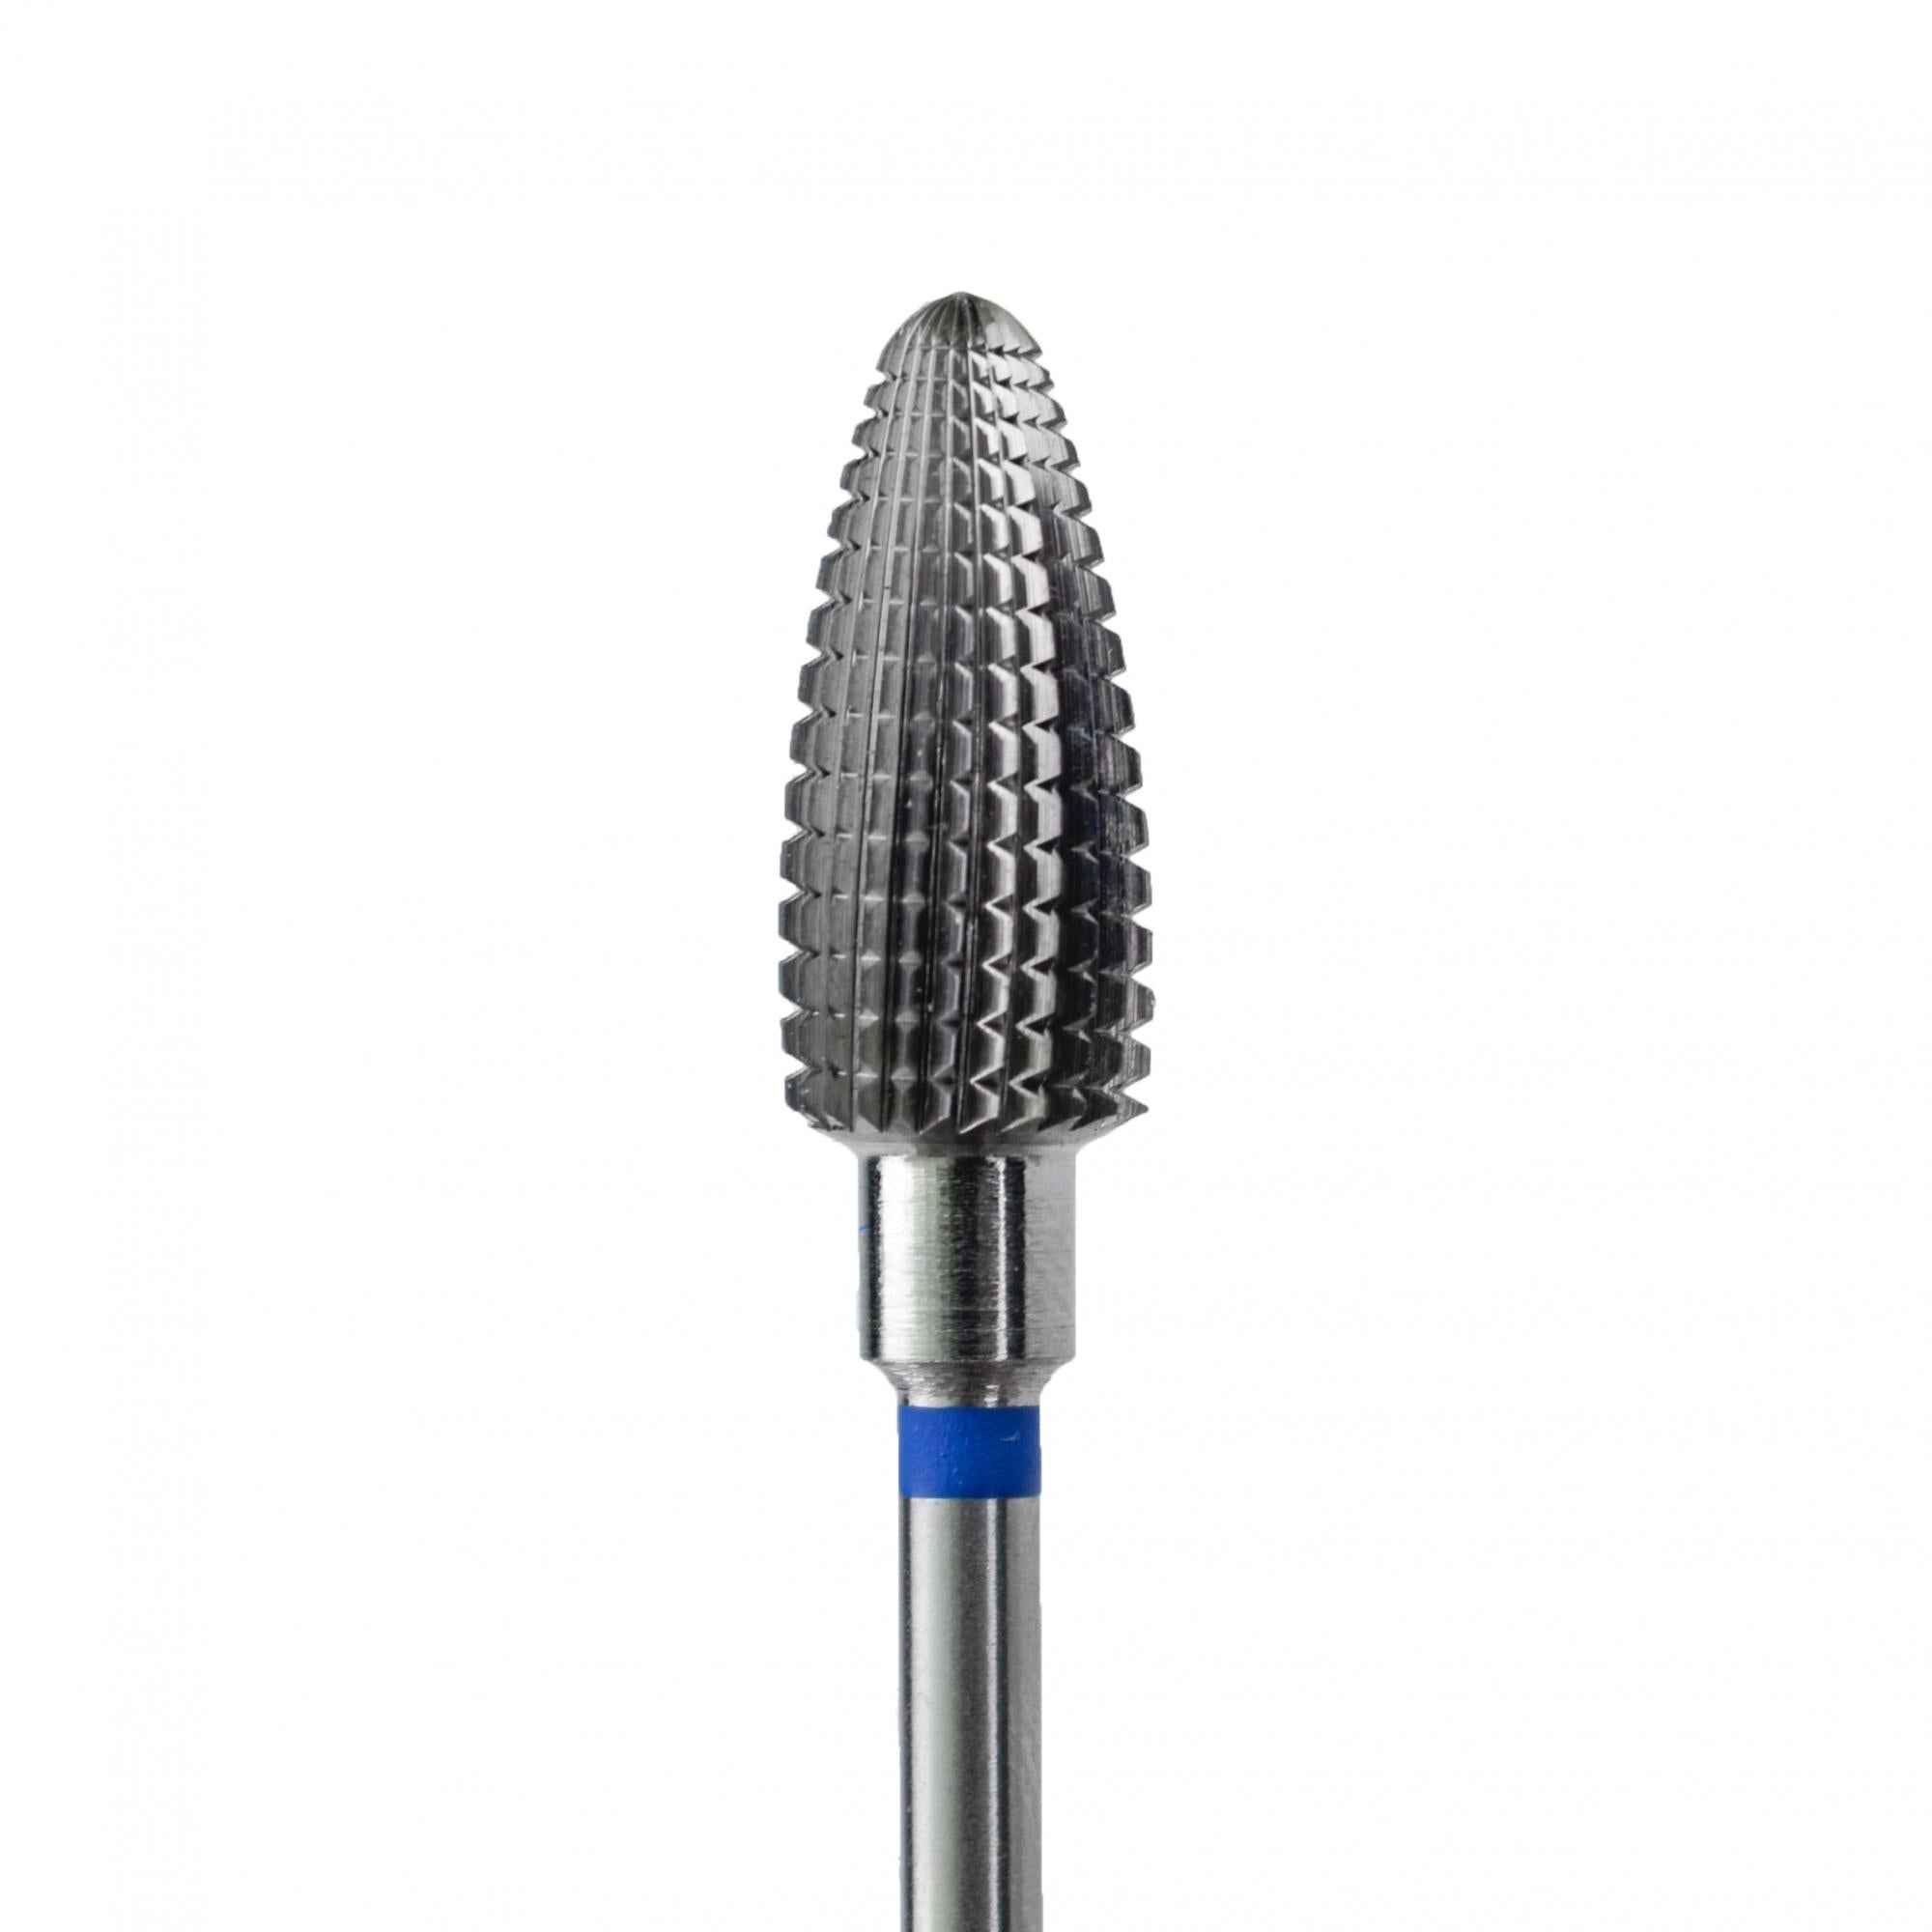
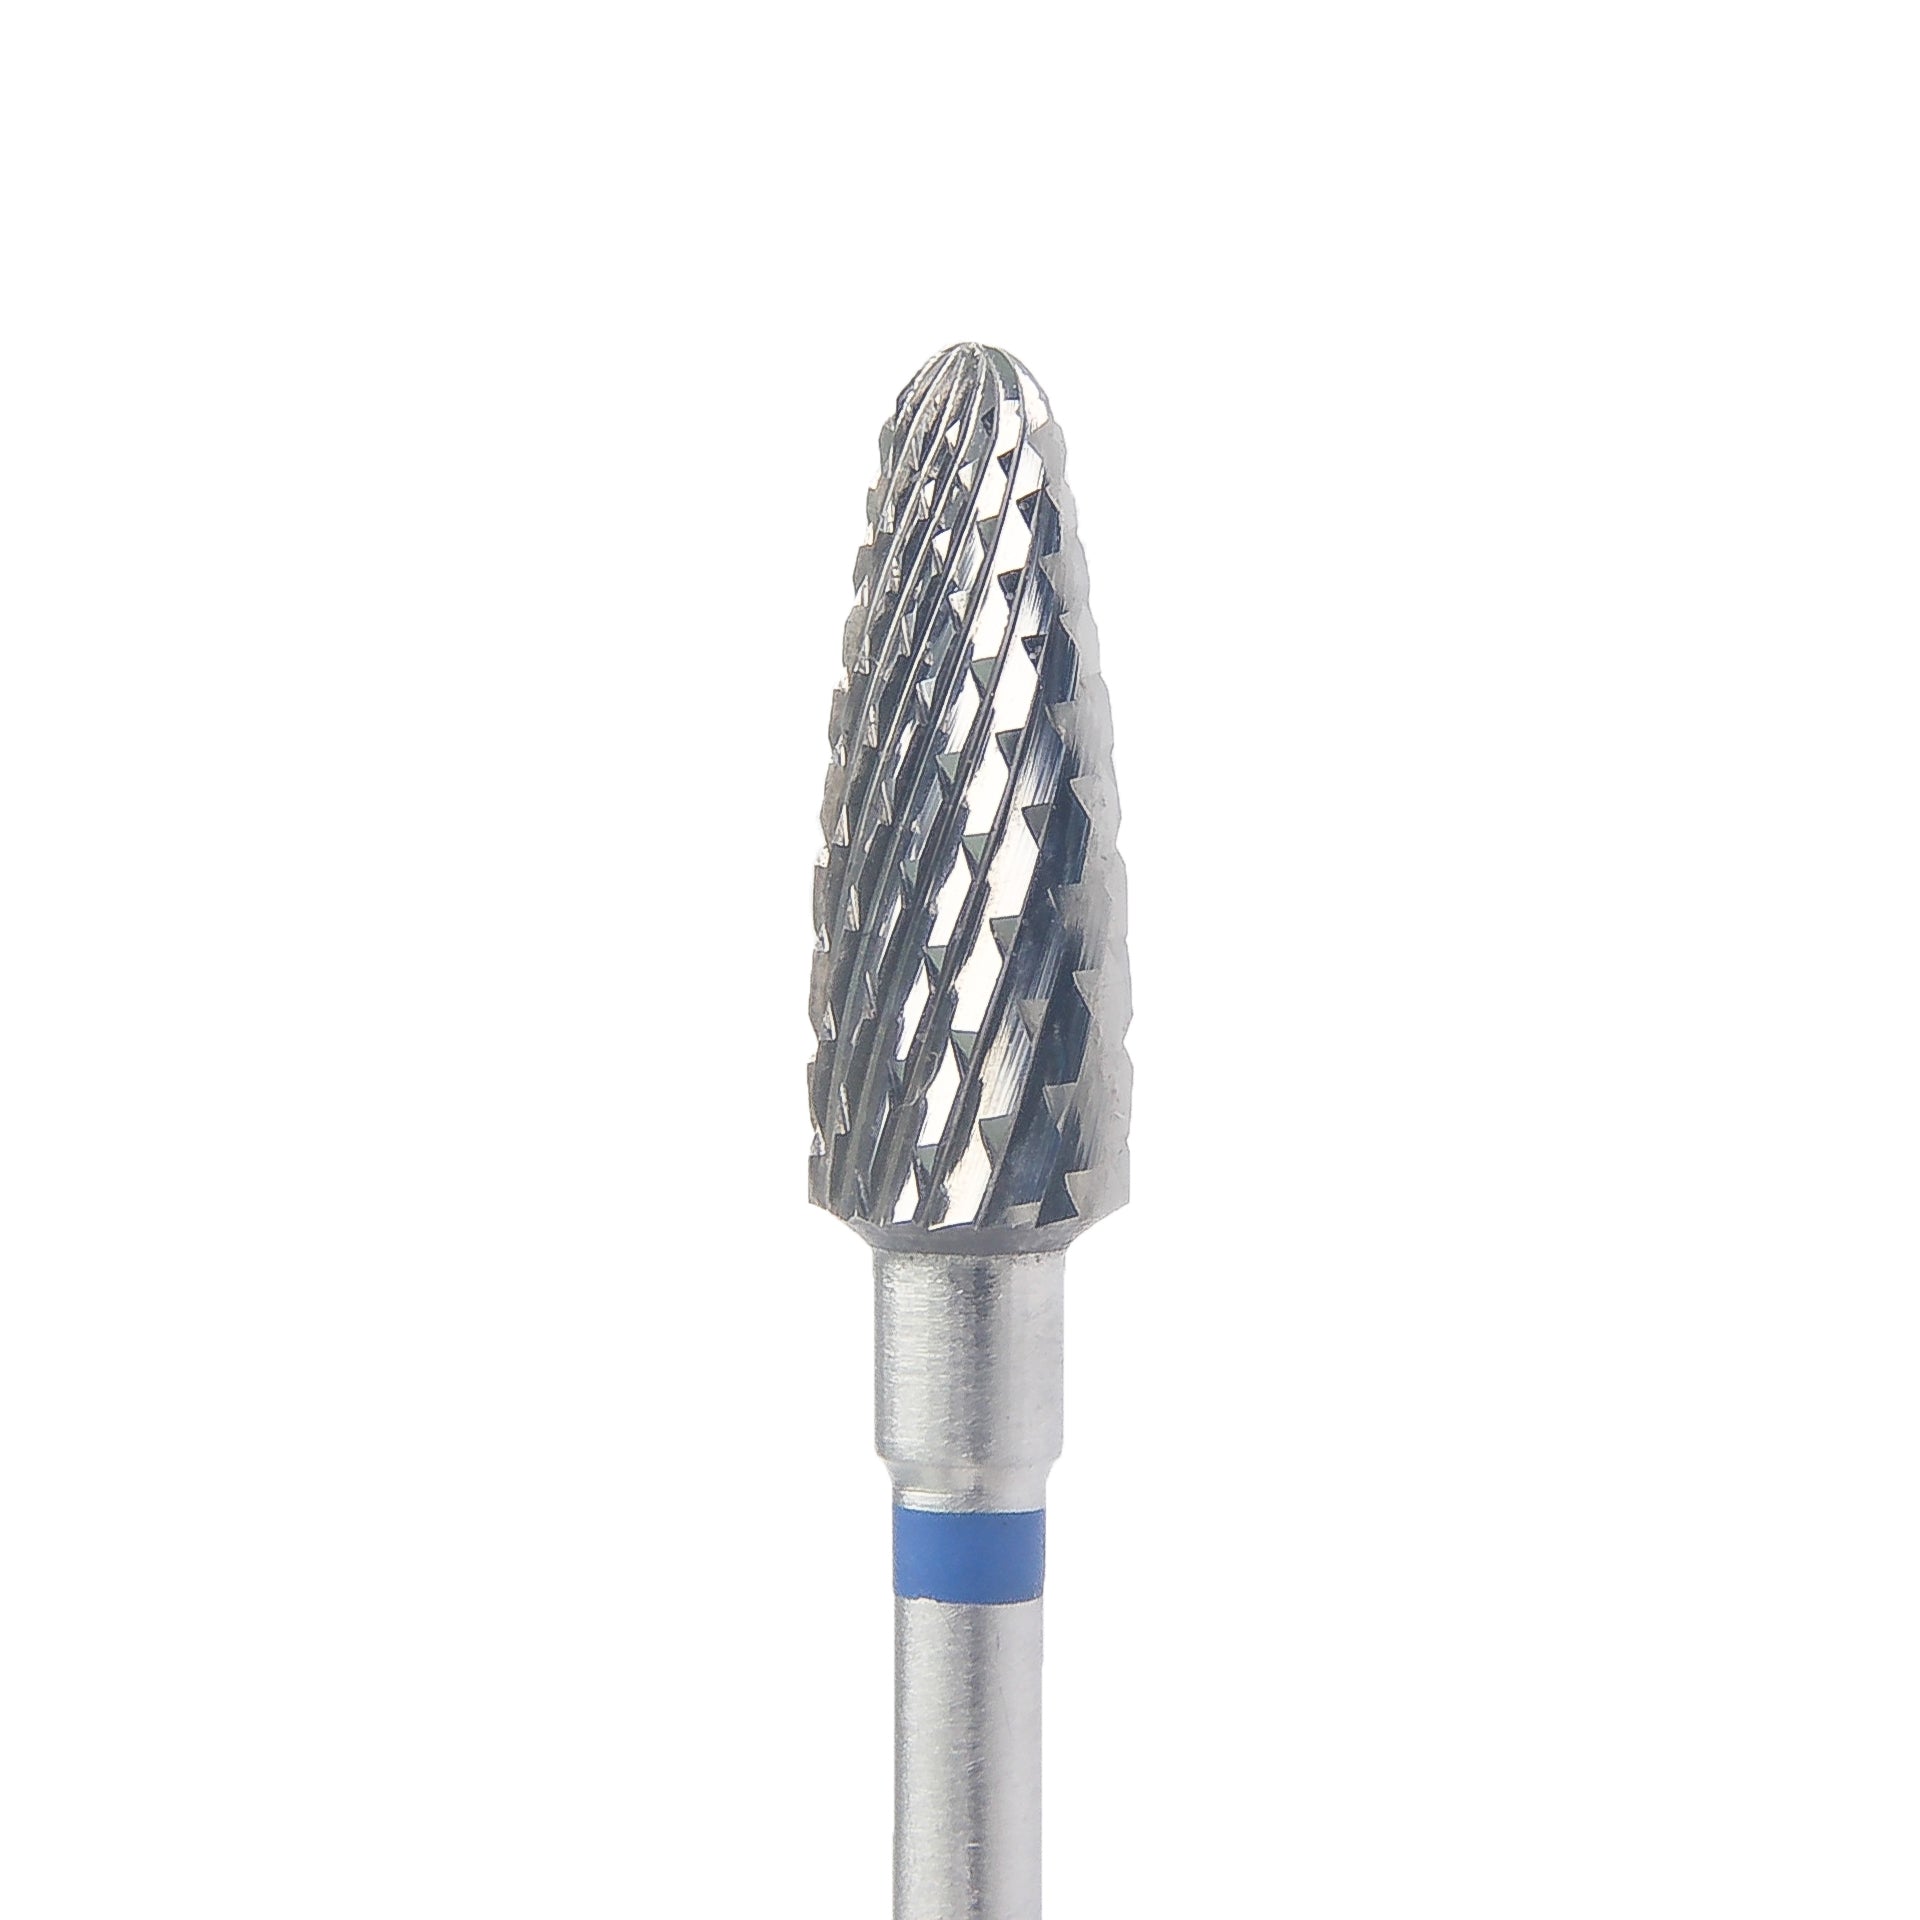
- Ball-shaped bits: These bits are perfect for removing dead cuticles and cleaning the nail bed.
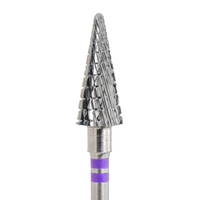
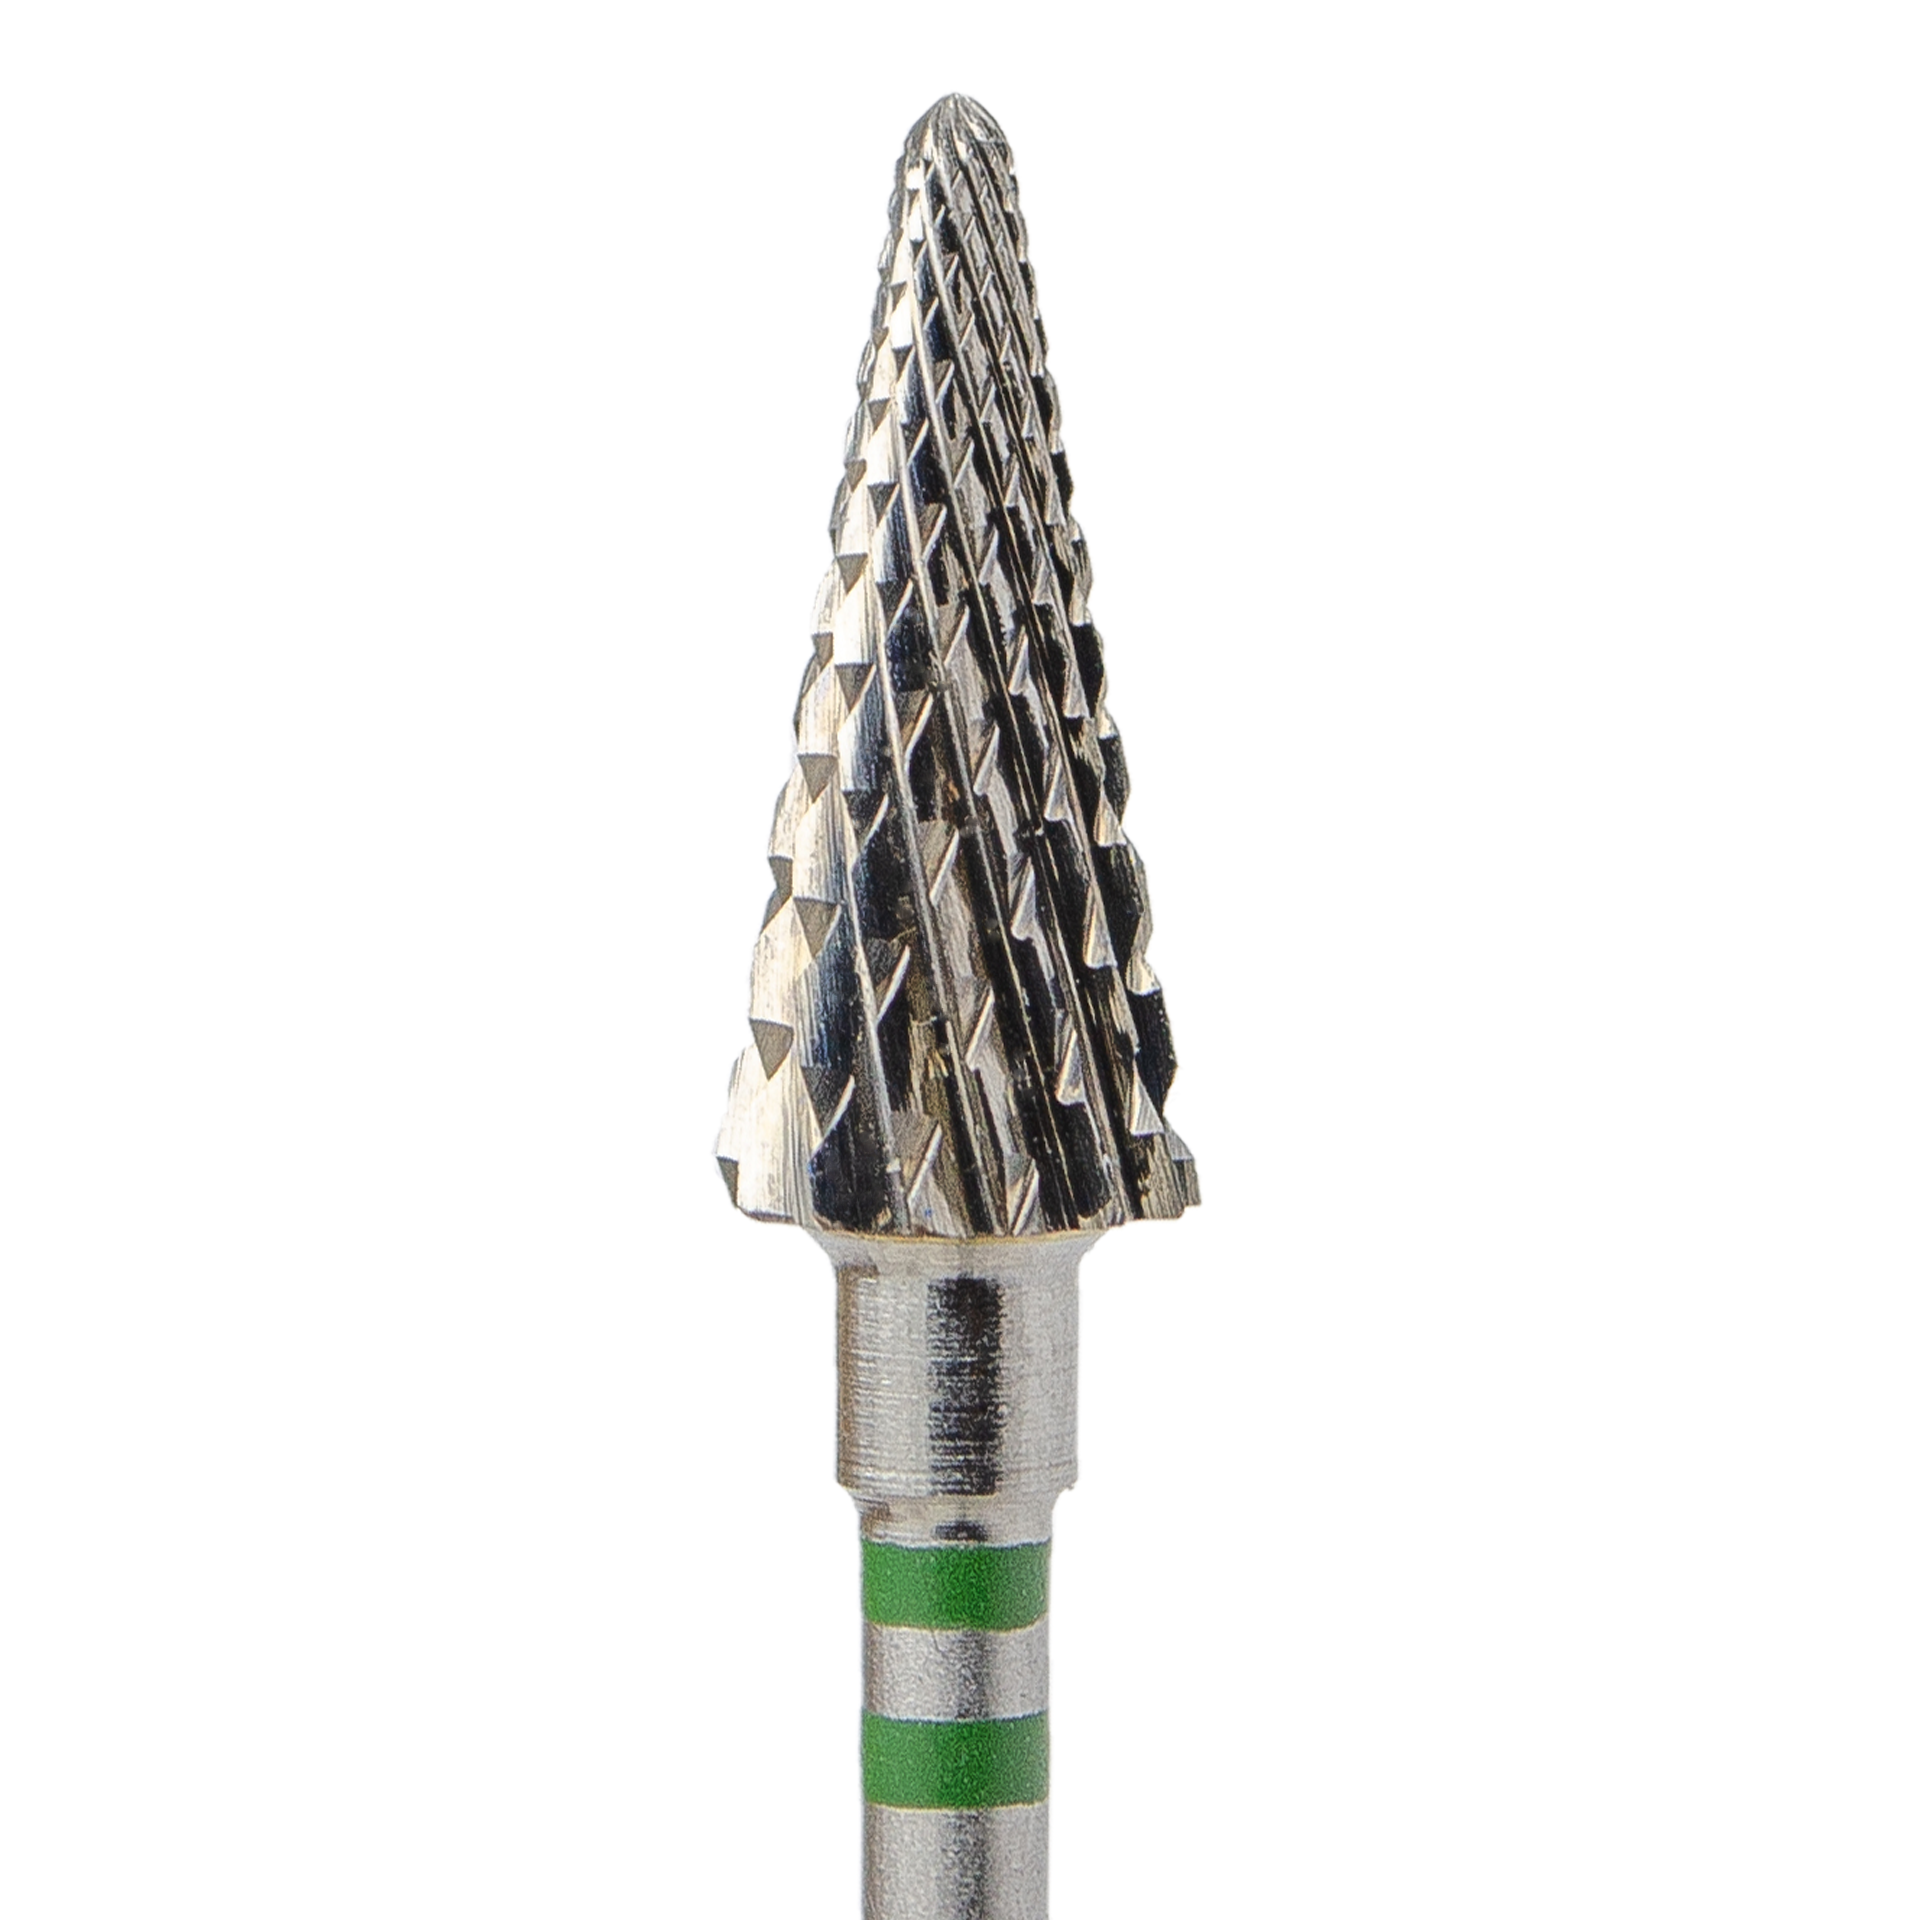
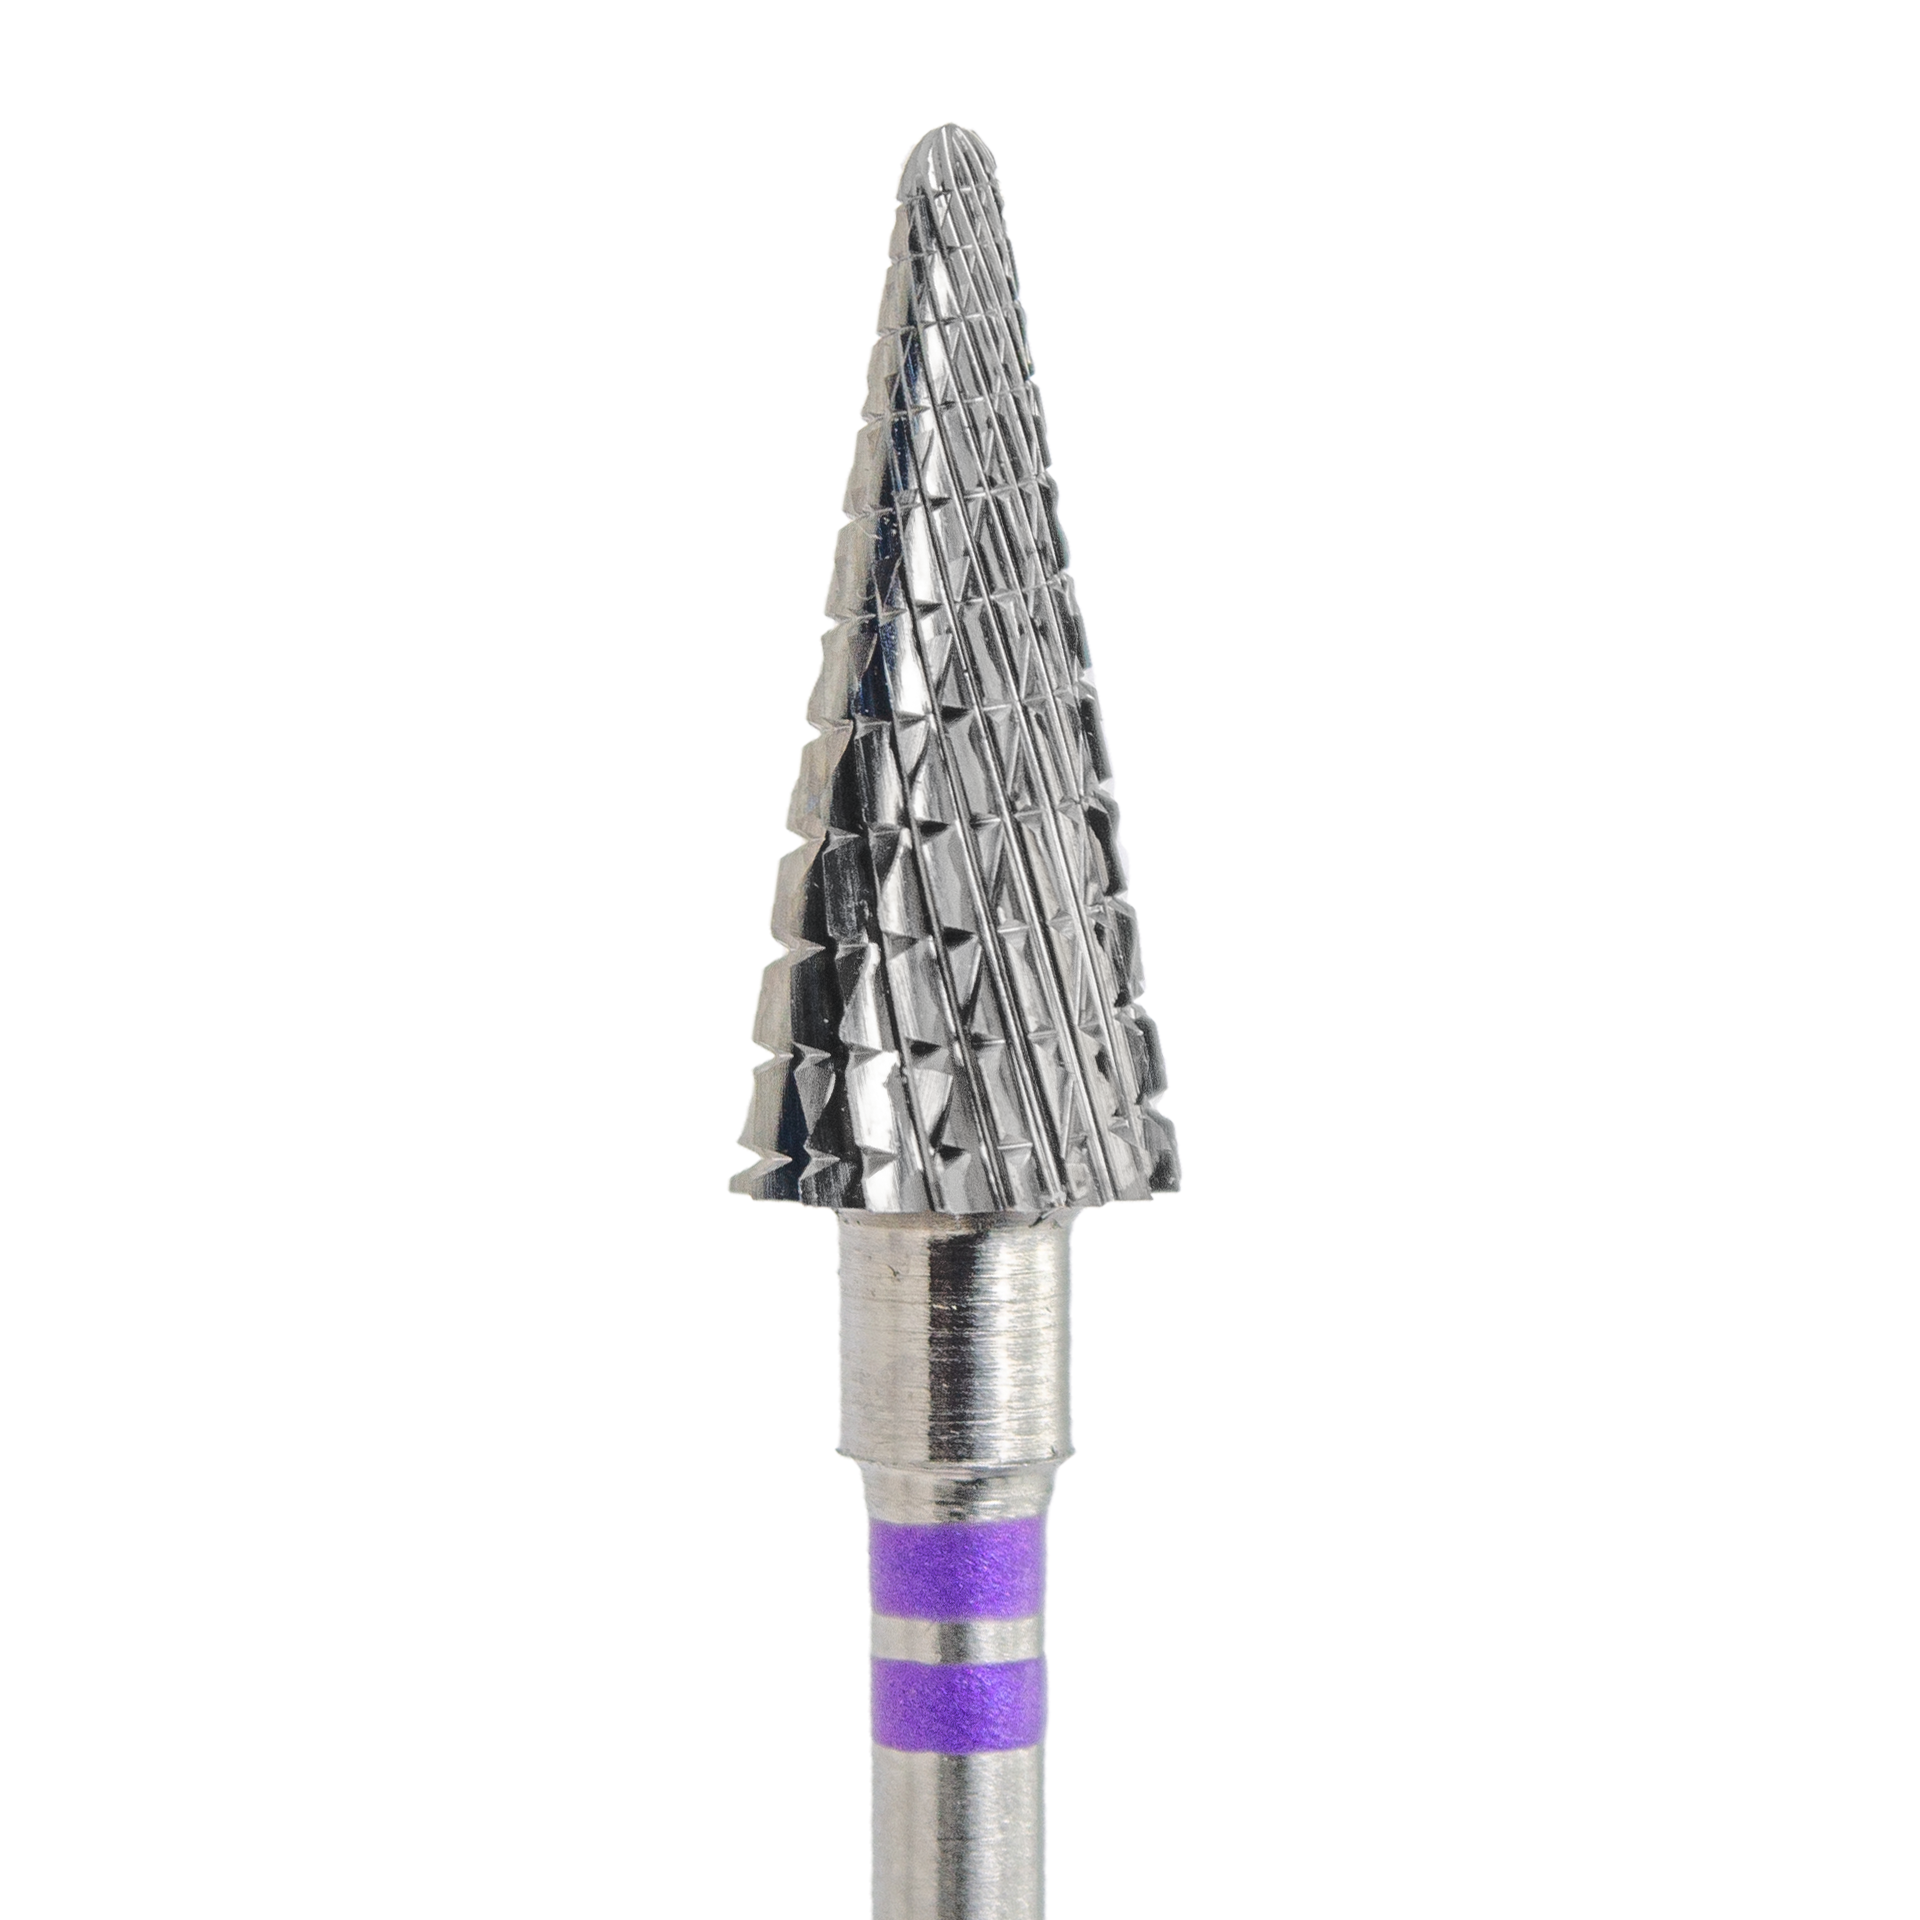
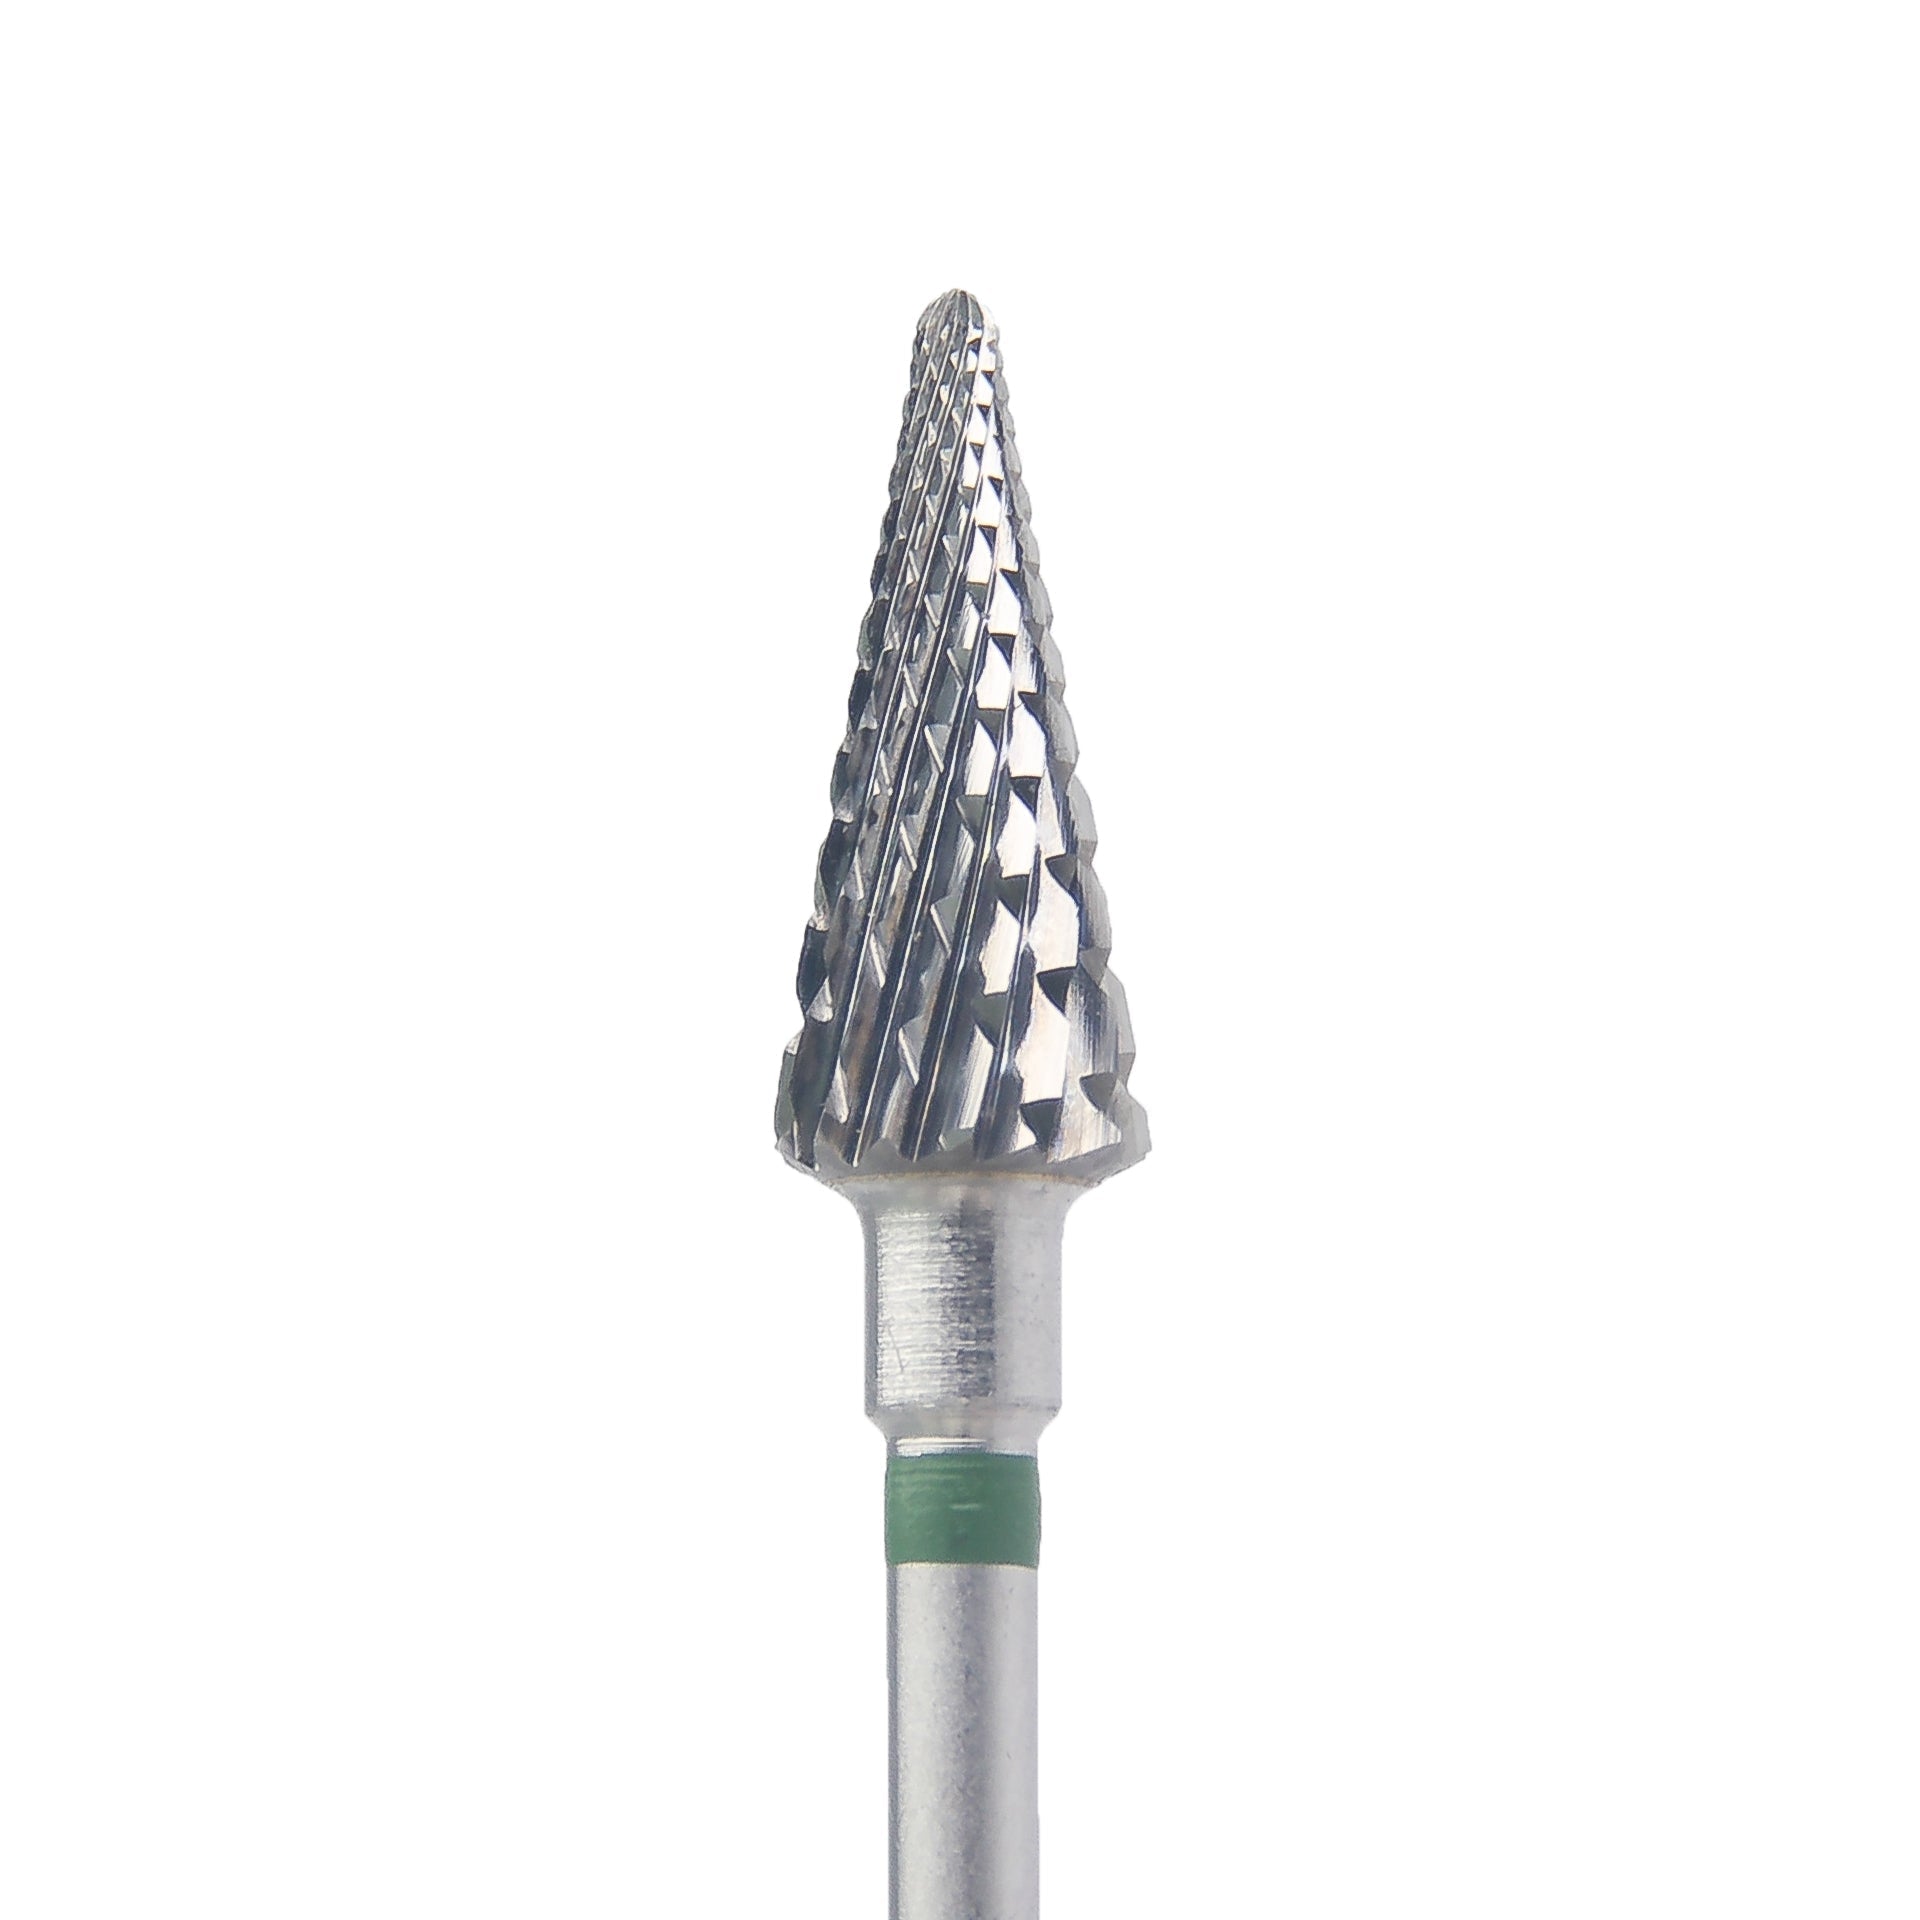
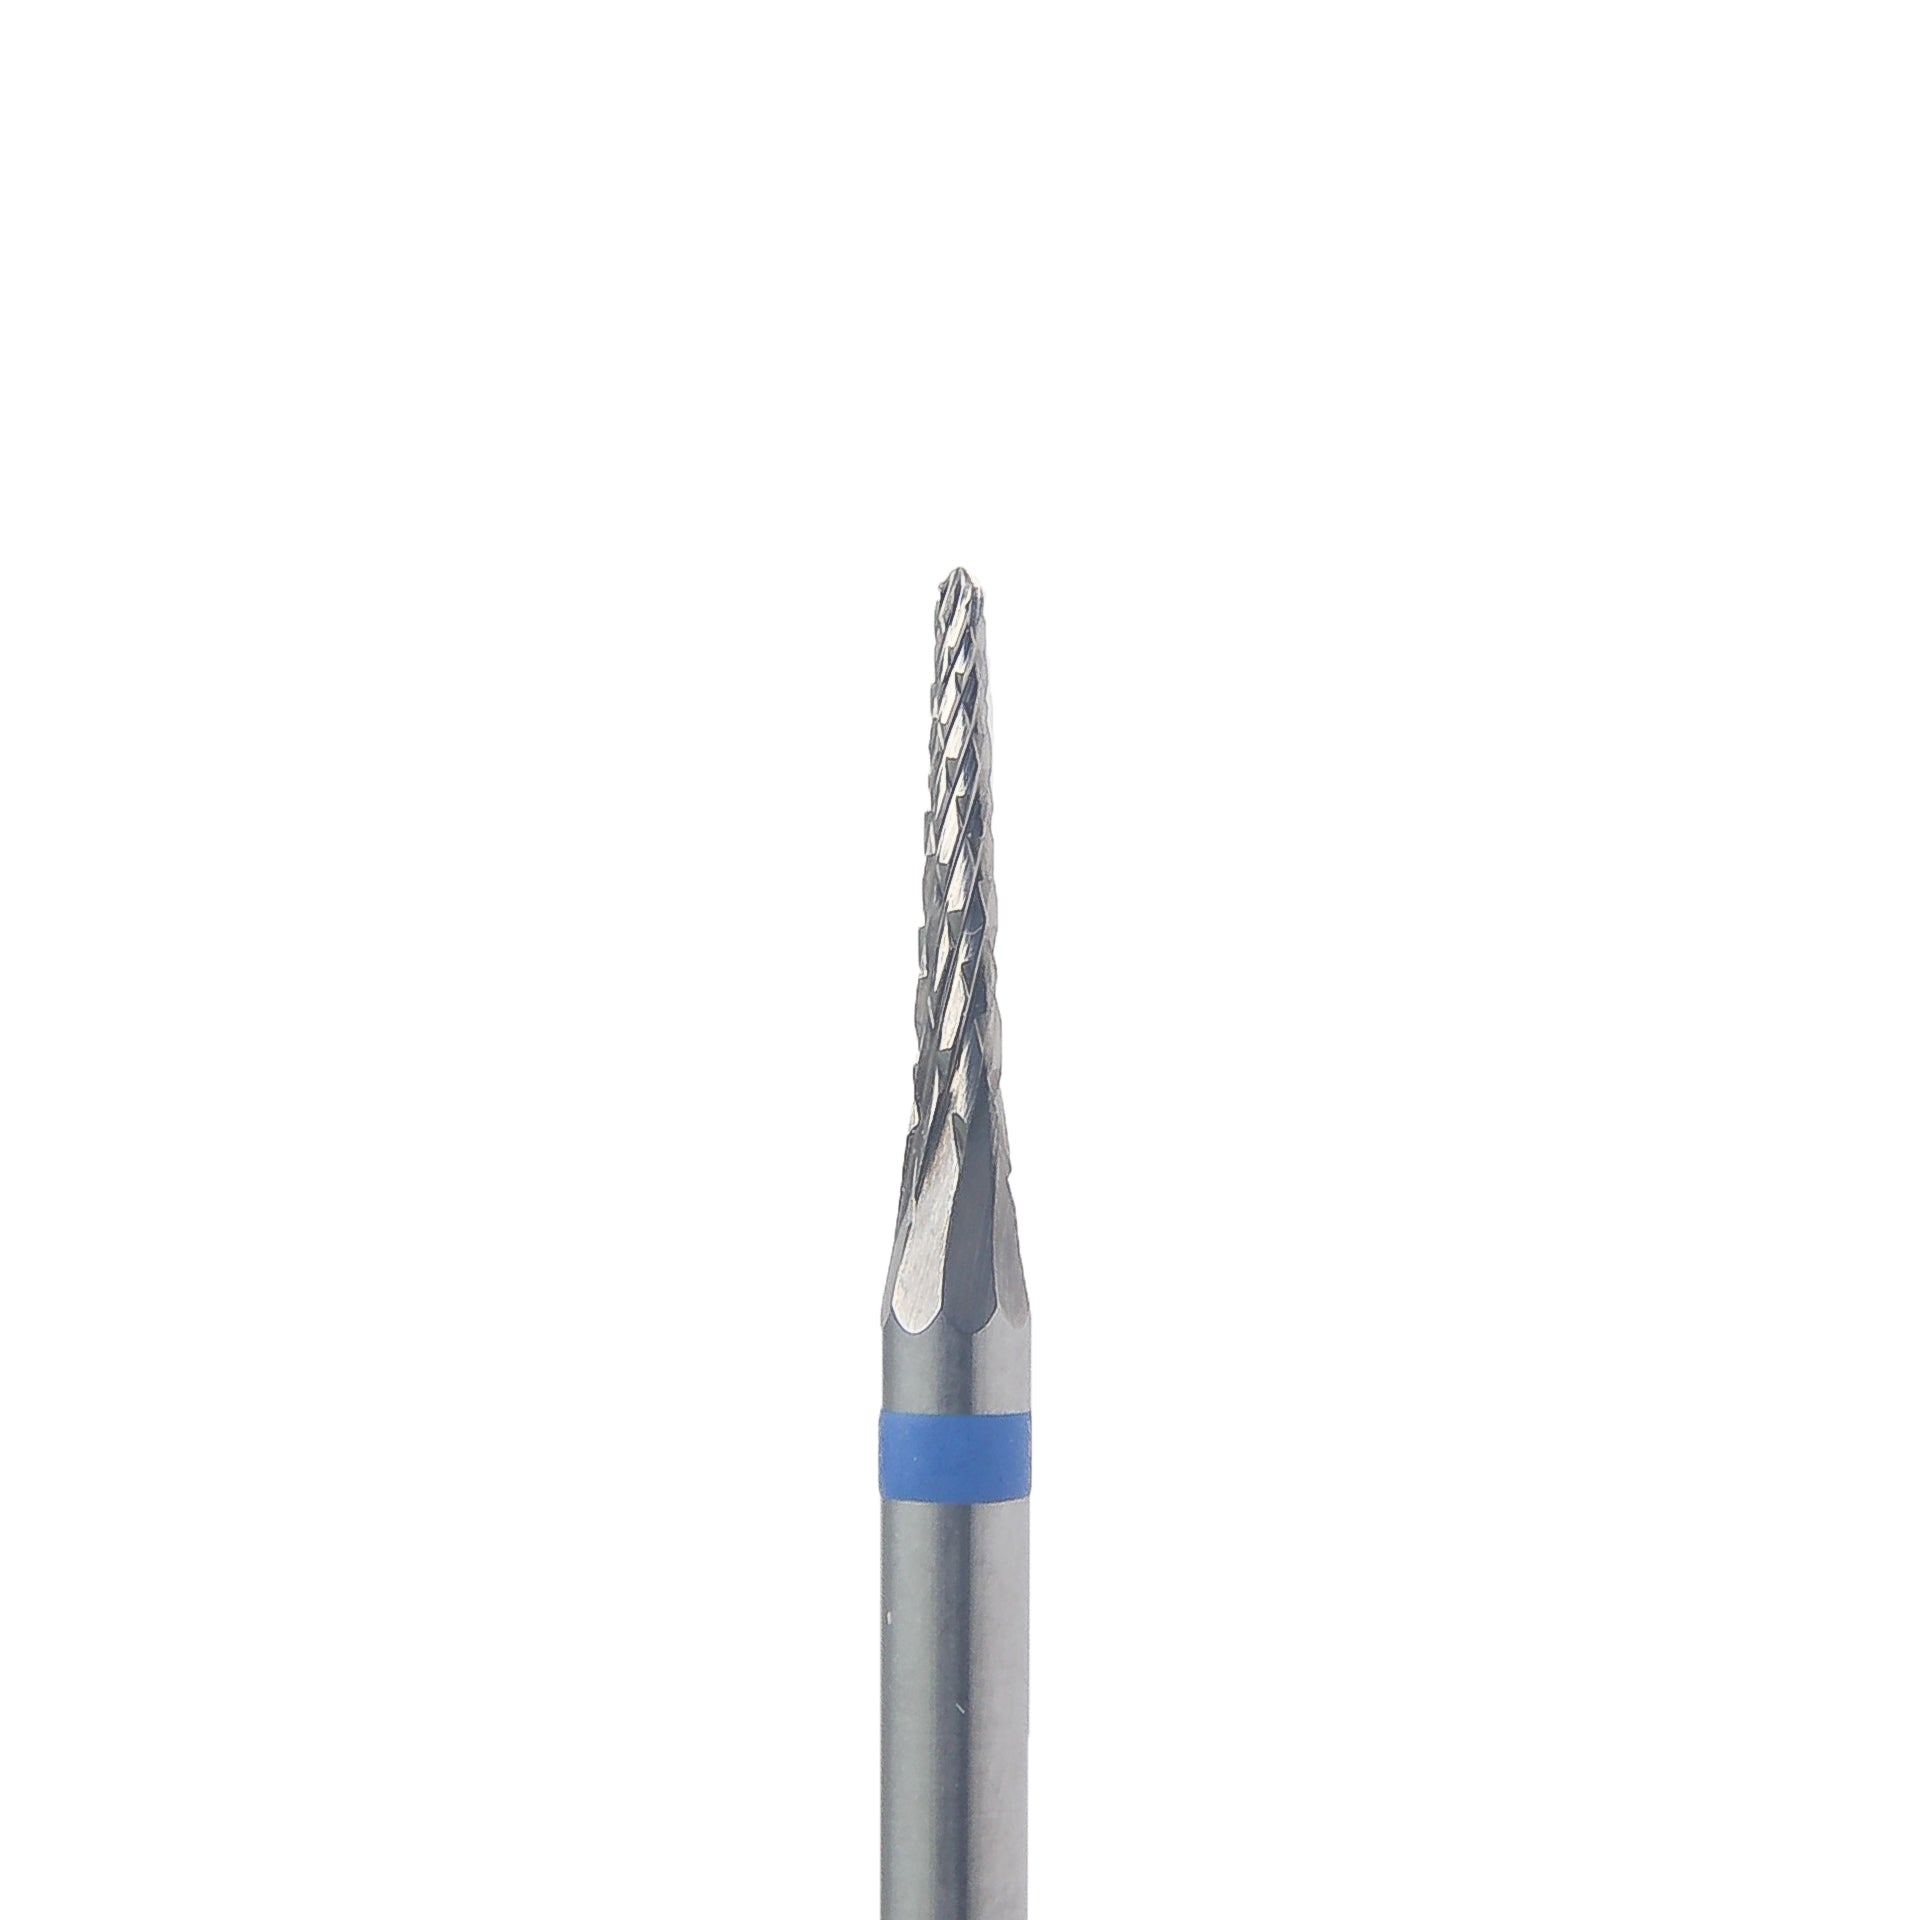
- Cone-shaped bits: Cone-shaped bits are ideal for refining the shape of the nails and removing excess product.
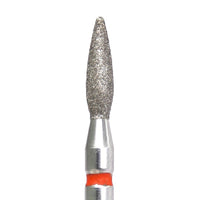
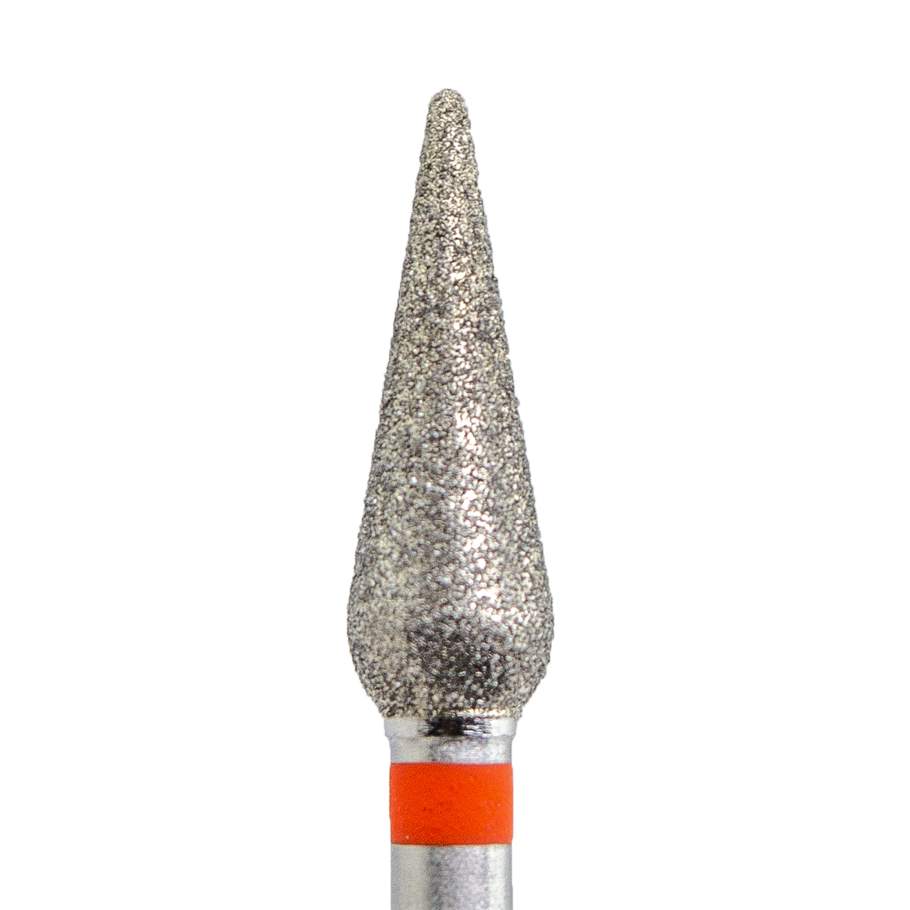
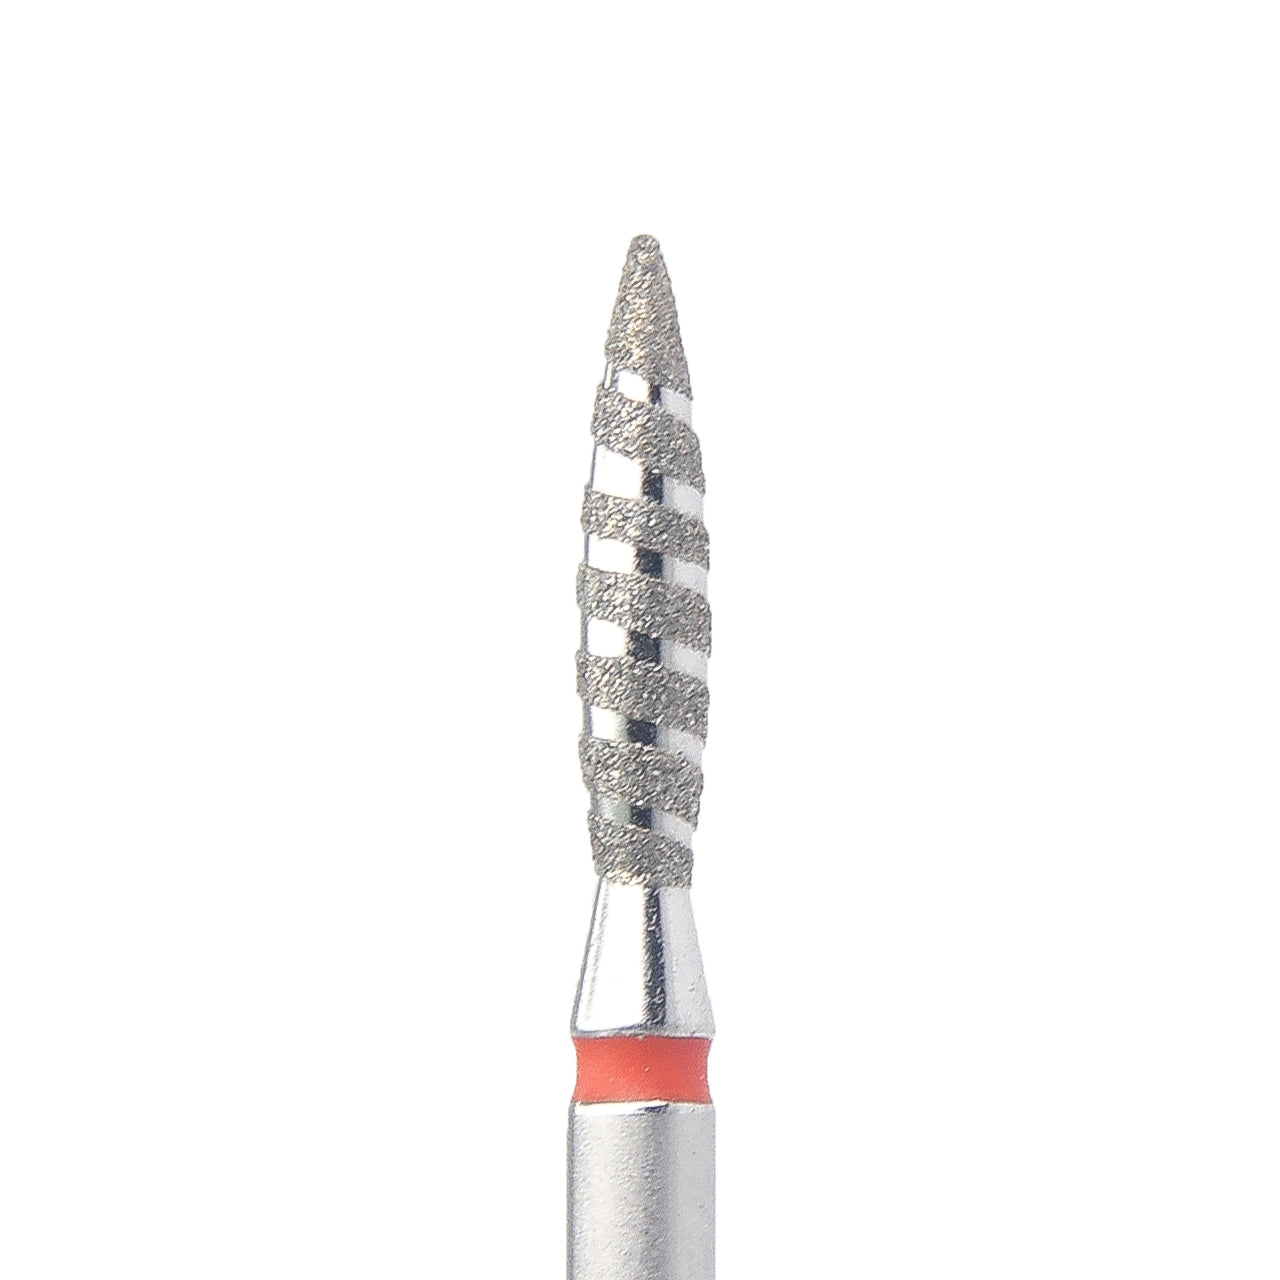
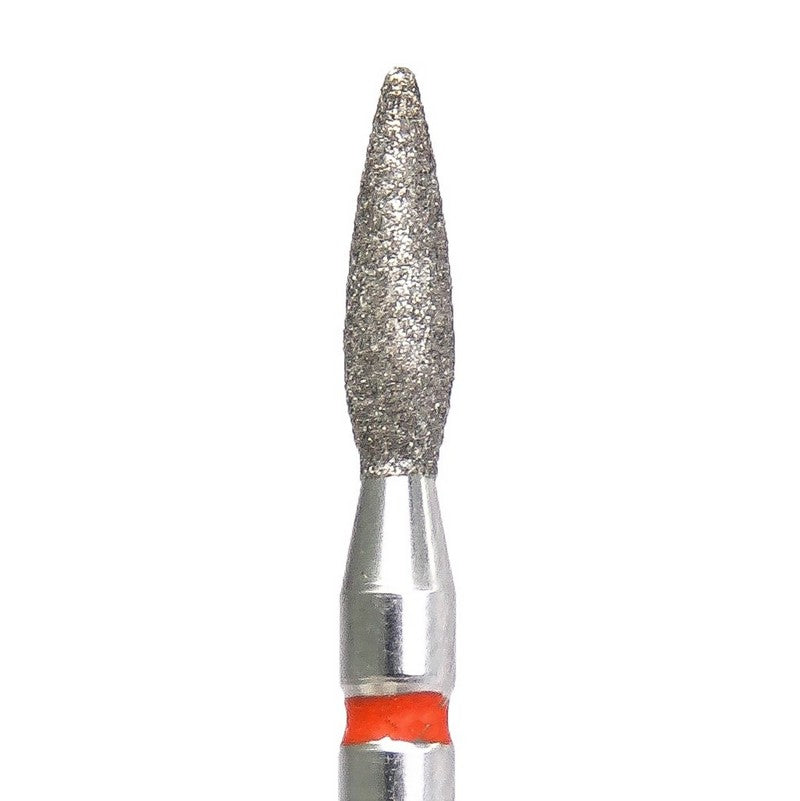
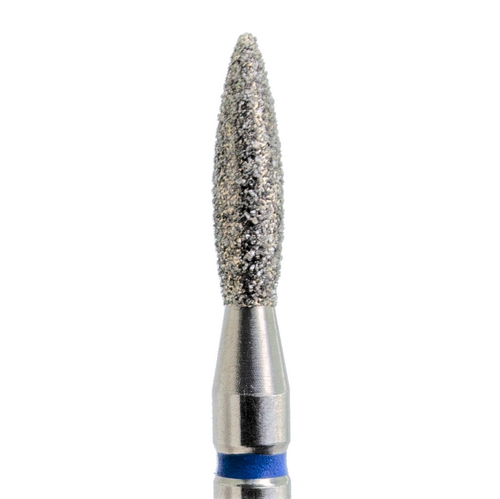
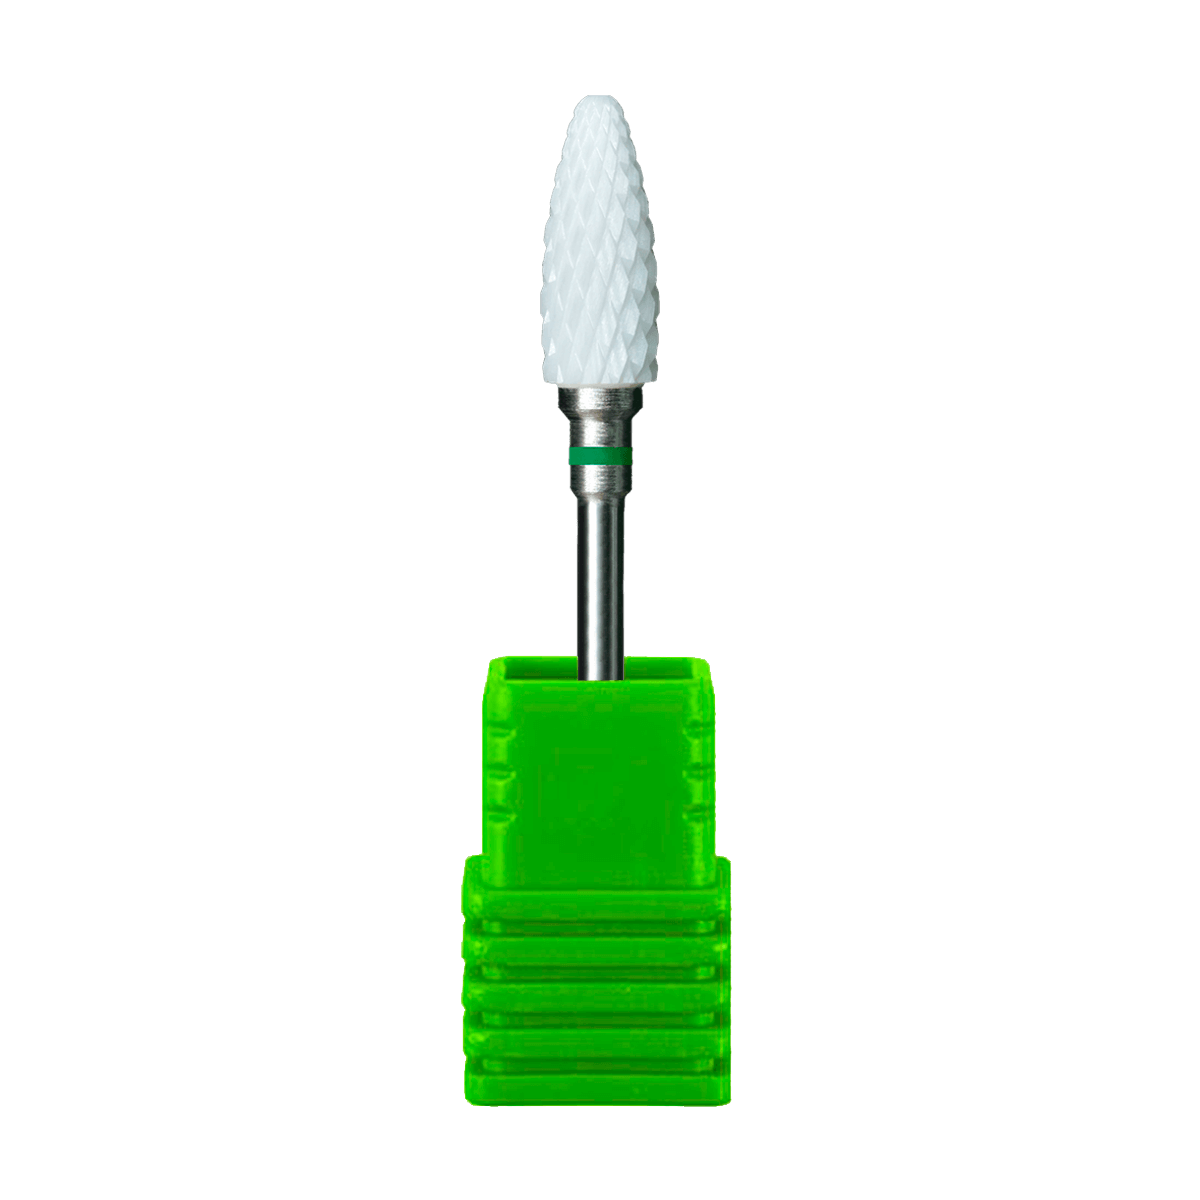
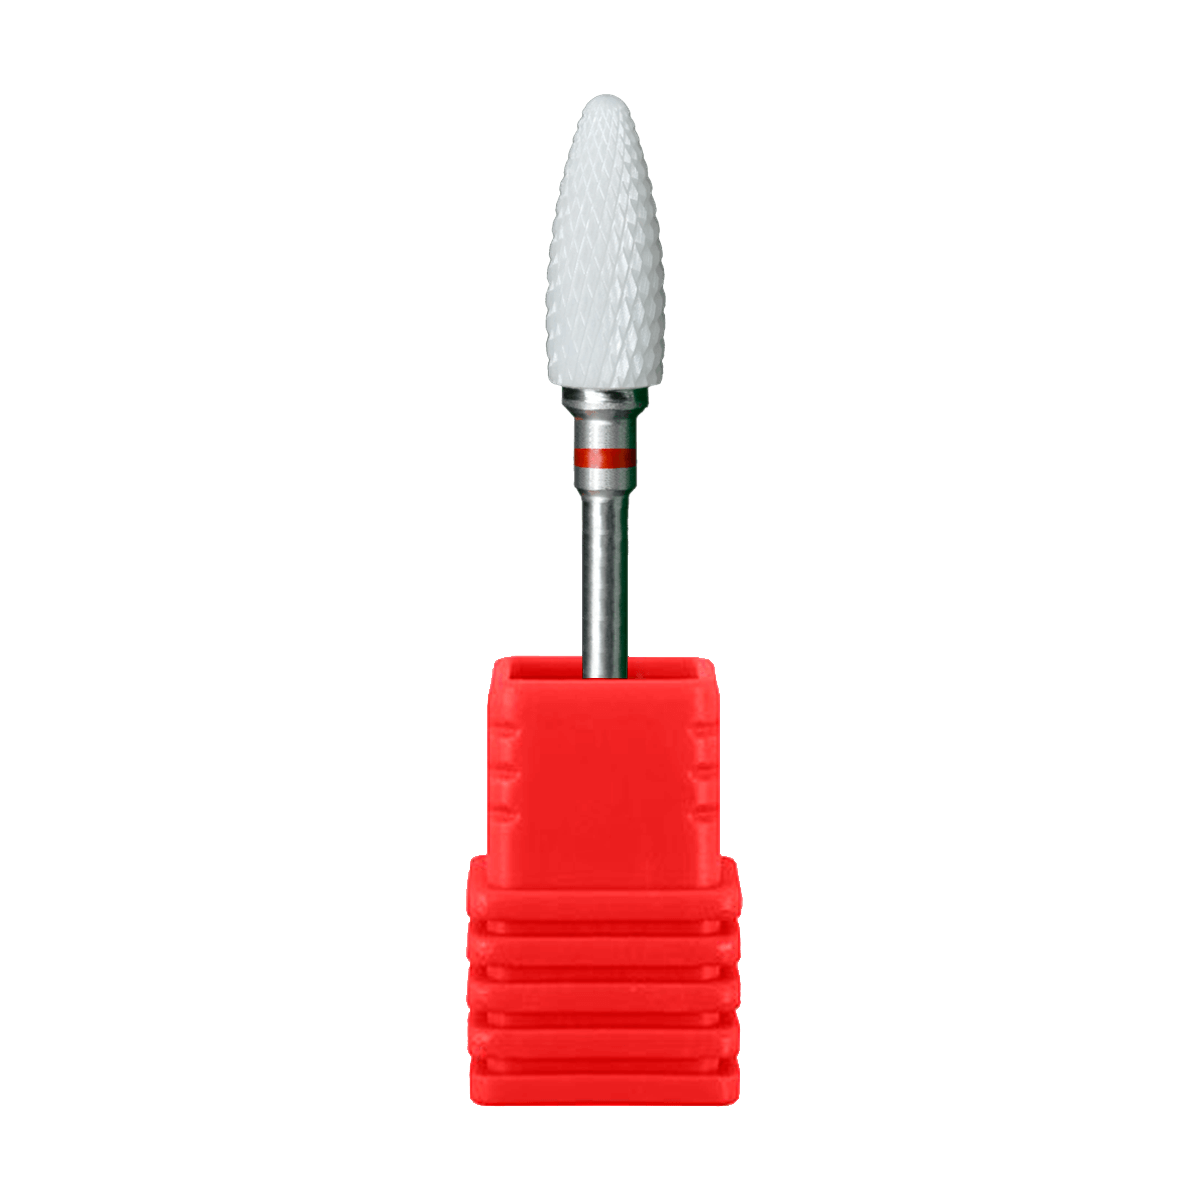
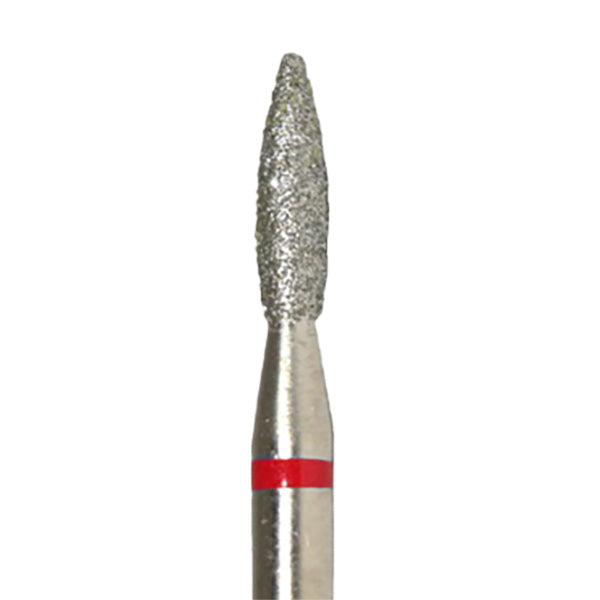
- Flame-shaped bits: Flame-shaped bits are used to create a tapered nail shape and smooth out any rough edges.
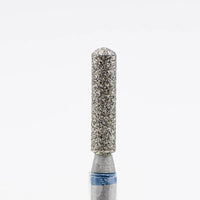
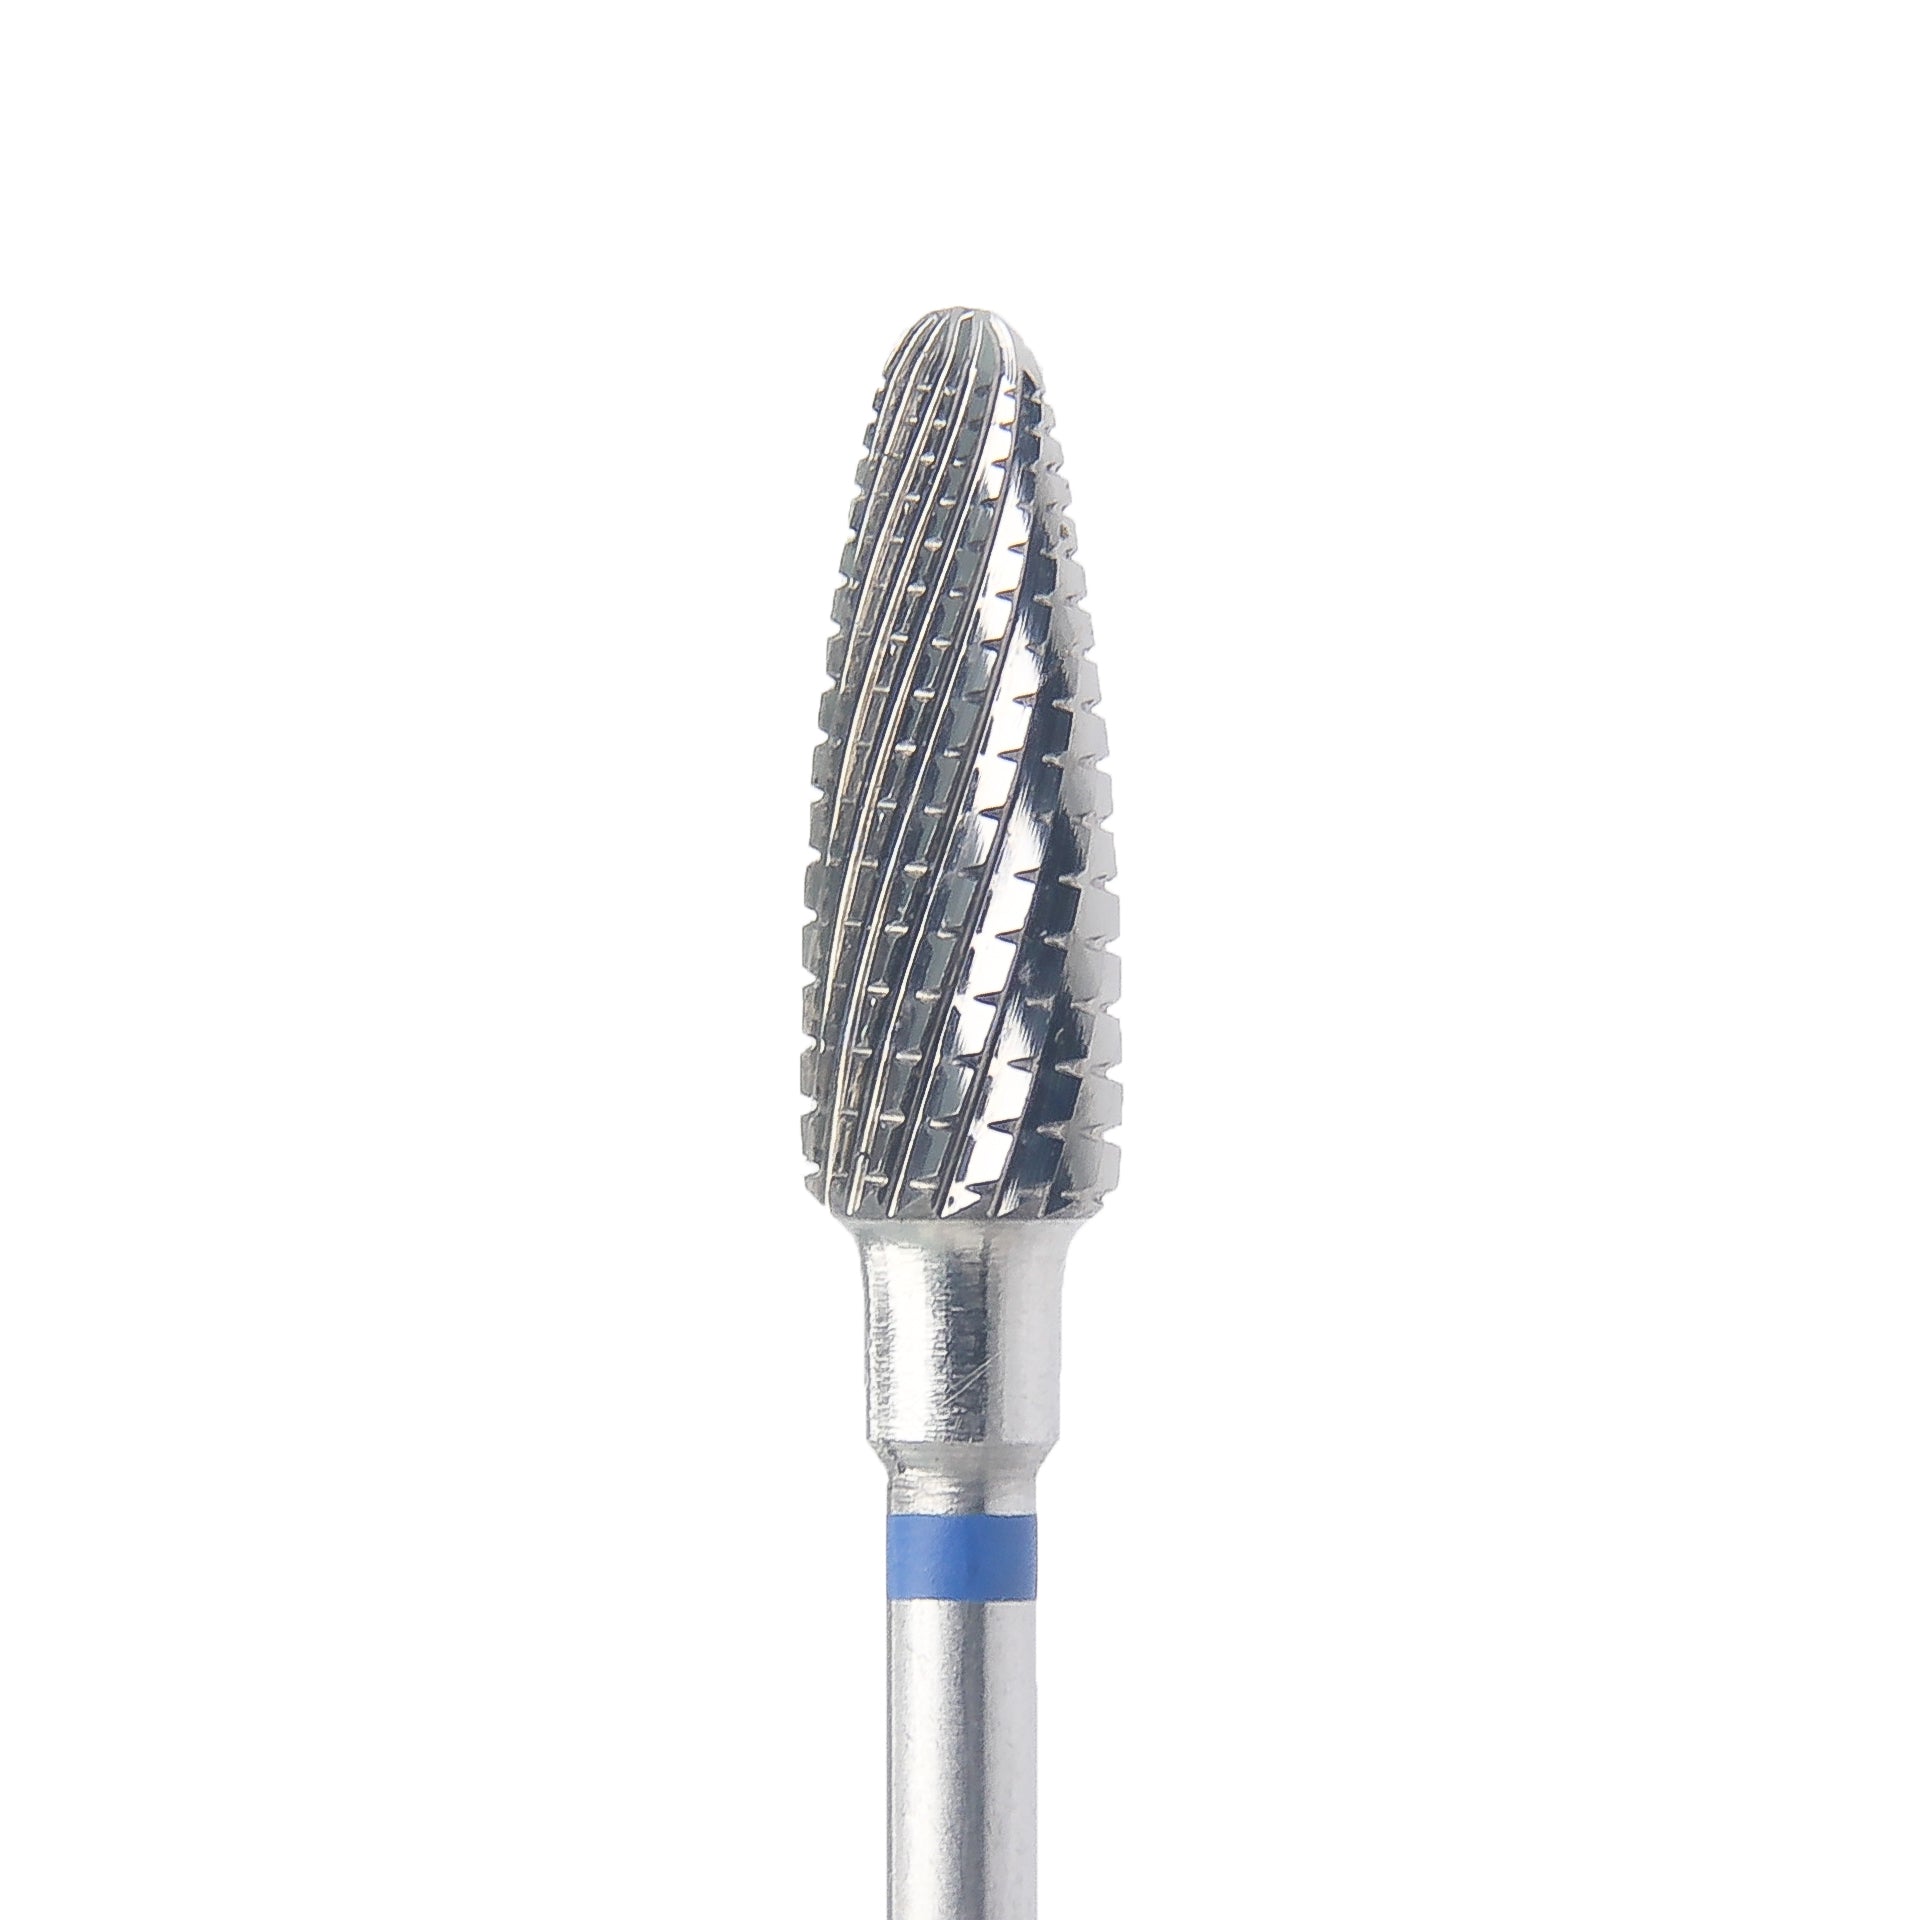
- Cylinder-shaped bits: Cylinder-shaped bits are great for shortening the nails and removing gel or acrylic overlays.
|
Ball-shaped bit |
Cone-shaped bit |
Flame-shaped bit |
Cylinder-shaped bit |
4. Choosing the right nail drill bit
When selecting a nail drill bit for your Russian manicure, consider the following factors:
- Material: Look for high-quality materials like ceramic or carbide, as they are durable and long-lasting.
- Grit: The grit level determines the coarseness of the bit. Choose a lower grit for removing product and a higher grit for refining and smoothing.
- Size and shape: Select a size and shape that suits your nail length and desired outcome.
5. Tips for using nail drill bits
Here are some tips to ensure a safe and effective Russian manicure:
- Start with clean, dry nails.
- Use a high speed setting to remove product and dead cuticles.
- Hold the drill bit at a slight angle for better control.
- Work gently and slowly, allowing the bit to do the work.
- Regularly clean and sanitize your nail drill bits to prevent the spread of bacteria.
6. Conclusion
By following these guidelines and using the right nail drill bits, you can achieve salon-quality results with a Russian manicure. Say goodbye to chipped nails and hello to long-lasting perfection!
